Visualizzazione post con etichetta fermentation. Mostra tutti i post

lunedì 27 febbraio 2017

How to correct liquid sourdough strenght

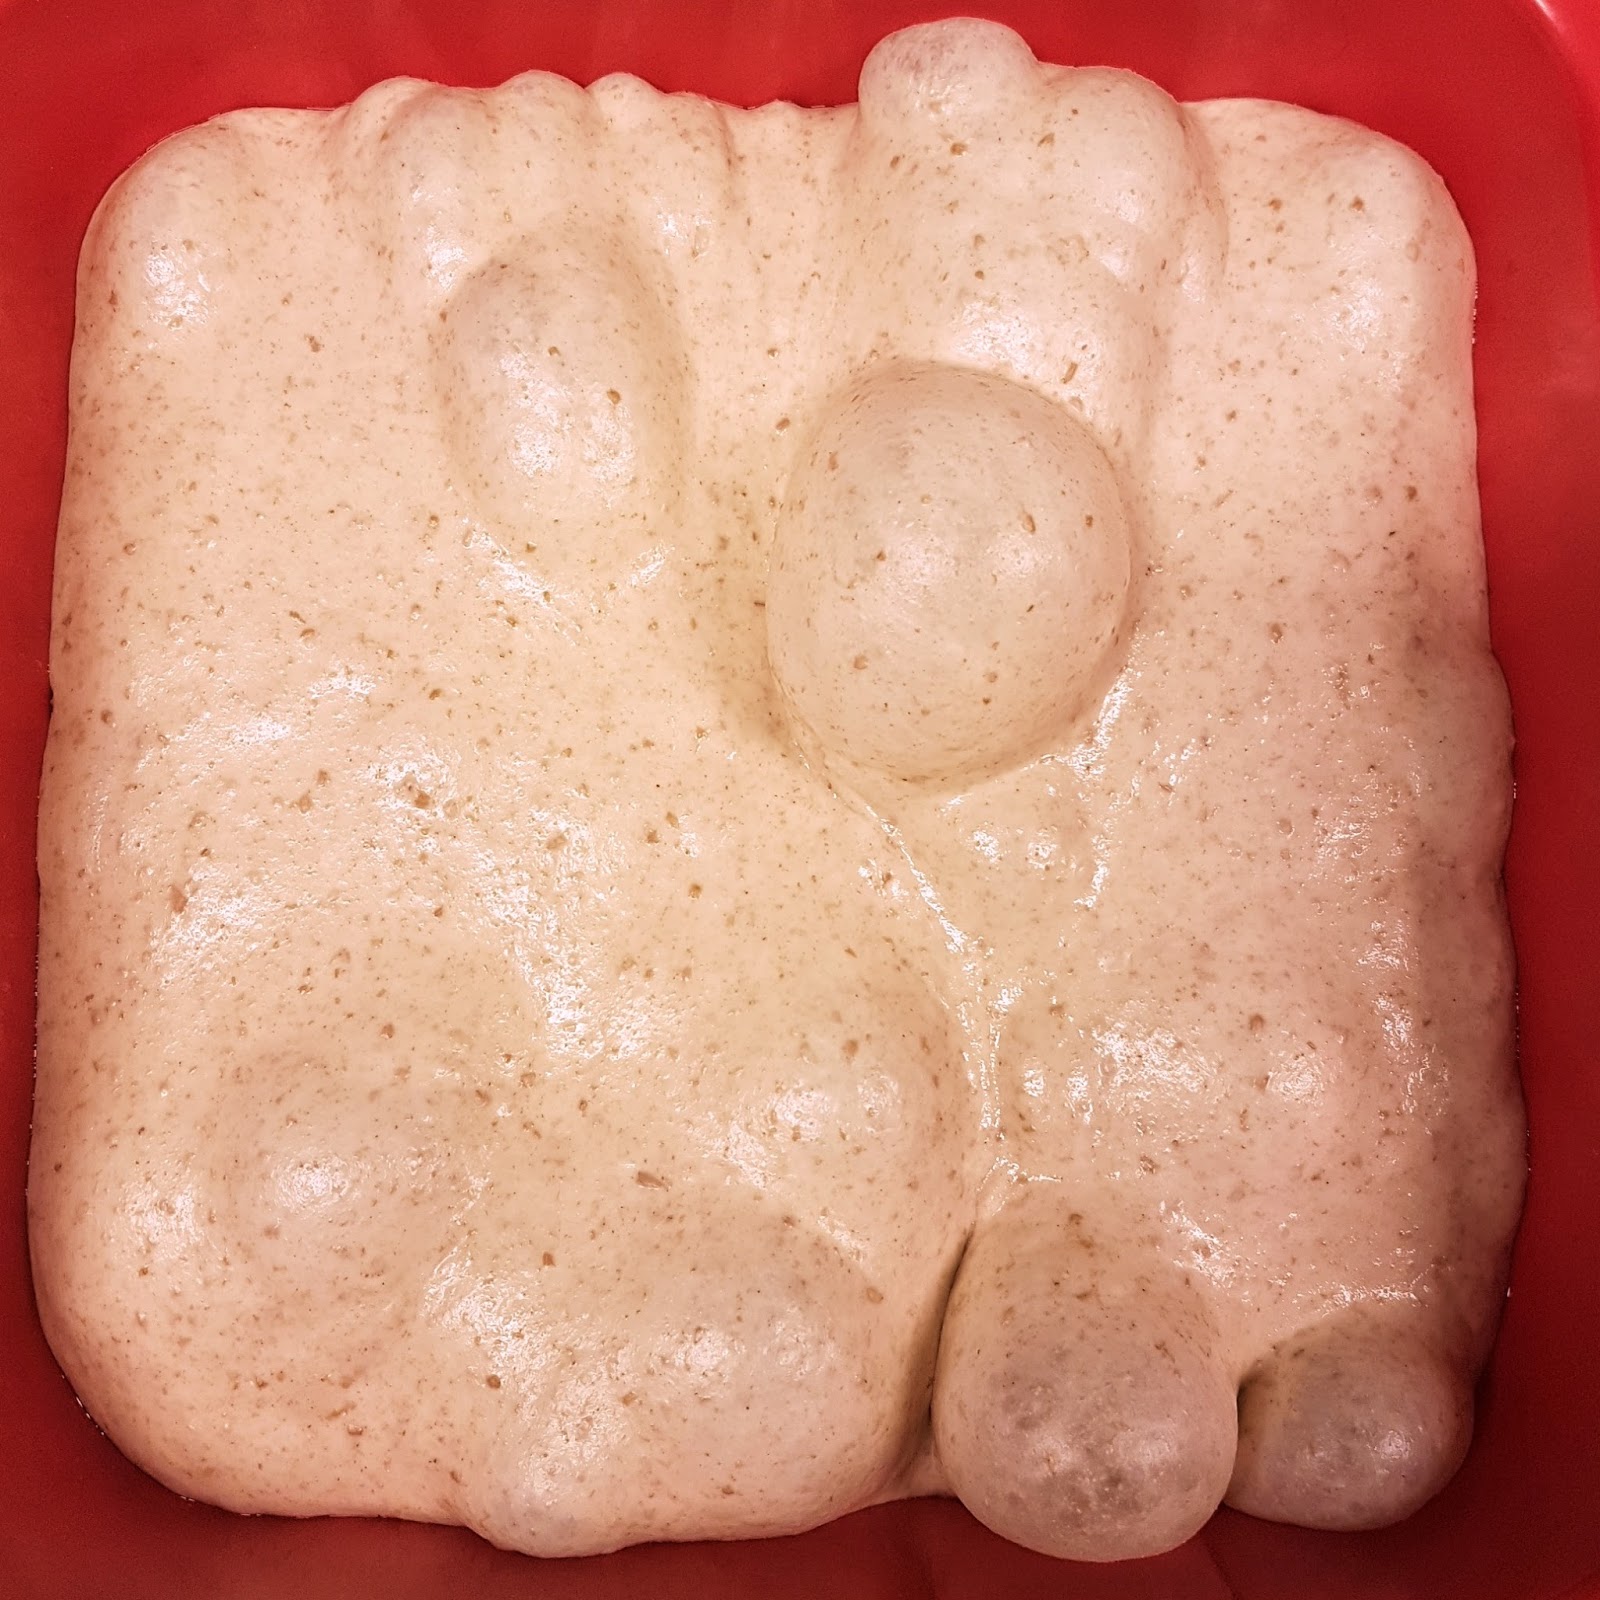
Mature liquid sourdough
Hello folks ! Have been a while since I did not post here, but the book, the baking itself and sport duties don't conceed me a lot of spare time...
I had the idea to write this piece while I was looking some feeds on Instagram and I figure that some people (either pro and home bakers) had the same problem with liquid sourdough.
The main issue was a lack of activity (or strenght) and a strange smell/flavor that was not typically related to sourdough. Since the acidity was good, (let's say around 3,8 to 4,2 ph), as well as proofing times and temps, the problem was obviously generated from some bacterias contamination. It's not quite easy for sourdough to be contaminated, but in some cases, even if one works with the right hygiene protocol it happens. If the levain have been suffering some stress, in example very long fermentations with either low starter inoculation and/or low temperatures (like in winter), the natural barriers from external bacterias may not work. Infact just the use of an organic flour which brings some different bacterias strains than usual can give problems of this kind.
What to do if refreshing after refreshing the issue does not solve?
The most secure (and drasthic) option is to toss the sour and make a new one from zero....
Obviously no one want to loose their beloved levain :)
Here is a method to try (with success most of the times) to bring back in strenght our sourdough.
First, we need to refresh it one time with this formula: 1:4:2 (starter:strong flour:water), mix it until a developed dough is formed (dough temp 25c) and let ferment 8 hours at 26-28c covered.
With a knife, cut the peel off and take only the heart of our stiff starter. Cut the center in 1cm slices and put them into a solution of 28c water with 0,1% white sugar for 15 minutes. (Water should be 5 parts greater than sourdough weight and 0,1% white sugar calculated on water weight). Be careful to not dissolve the slices in the water by using a gentle touch. Repeat the process, (refreshment and bath), until you loose the off flavor and solve the issue.
After that, the stiff starter can be converted again in liquid sourdough by proceeding with a couple (or three) feedings in which you augment the water %.
NB. this process can be used also for too acidic sourdoughs but not for yeasty ones.
Hope this will serve and I wish you many great "Natural Leavenings"

Ps. I found a transaltor for the book so it will be released quite soon in English ! :D


lunedì 14 novembre 2016

Different dough folding methods: why and when apply

A proper fermented soft dough, folds allowed develope the strenght to retain gases


Hello everyone ! Have been a while since I wrote the last article on the blog.
I have been very busy preparing and organizing a class, and a two days international workshop with a very special guest baker from Spain, the master and high hydration specialist, Juan Luiz Estevez !
To learn more please check my Instagram or Facebook accounts.

But now it’ s time to accomplish my duty, and as I promised, write more in-depht guide on dough folding.

First of all, what does it means folding a dough ? Basically it’ s a tech applied during the bulk fermentation phase, which consists of fold the dough over itself stretching and releasing it gently.


Why we do that ? Because stretching the relaxed gluten allows the strands to organize in a better way and, for this reason, the gluten web get stronger and less extensible.
Also, proper folding makes fermentation better:

new oxygen being introduced in the dough;
microorganisms get distributed in a more even way;
dough temperature gets more uniform.


So now it’ s time to take a deeper view on the practical side, and check the main different folding methods.
I suggest to use for every method a different container for the dough. All of those containers must be previously oiled up.
Is possible also to do the folds free, on a bench but this involves the use of flour.
Because we don’t want to introduce new flour in the dough, I prefer to use containers and also to rinse the hands with water, this will prevent dough to stick.

The most simple, and most used, folding method is the 4 ways fold a.k.a. letter fold.
It should be performed in a square container and basically consists of fold each opposite side of the dough over it’ s own center and then flip it with the seam side down.
This method is suitable for soft and extensible doughs without too much hydration.
Should be performed in the first hour or two of the bulk fermentation, with regular intervals (45 minutes 1h etc..)


Another important method is the “ciabatta” fold, as I like to call it.
Basically enrolling on itself the dough, up to bottom, with a semi-circular motion, for 3 or 4 times.
This really works good for wet and extensible doughs; it gives a lot of strenght and doesn’ t stress the guten too much.
As the previous method, should be performed in the first two hours of bulk phase.


Last but not least, the “clock” folding method. Is the one I prefer for less extensible doughs, as I feel it performs better. The gentle strech prevents the gluten strands to tear down and brake the structure.
This is better done in a round container and it’ s performed taking small portions of the rounded dough and fold them to the center while turning the container clockwise with the other hand.
Previous rules on timing apply here too.


Hope you will have fun trying those techniques ! Please let me know how it goes or if anything is not clear enough :)


lunedì 24 ottobre 2016

Dough Folding


Hello everyone!
This article that will talk about a well known method every sourdough baker practice: Folding the dough.
Also known as s&f (stretch and fold) I prefer to call this important step just dough folding.

Now, let' s see why this passage is important in baking and even more in sourdough baking.

When we mix a dough, we always want to look for its final temperature, as well as its strenght and level of gluten development (where strenght is the relation between elasticity and extensibility, not absolute strenght).
We all know that those are important parameters to control (have a look to previous articles if you missed something).

Well, folding the dough affects those parameters quite a lot. Let' s see why:

Temperature:


When a dough is mixed, it's then stored in a food grade container, (usually plastic), which have a volume 3 to 4 times bigger than the dough itself. This is called bulk phase.
As the word says, the dough is here stored in big quantity to be able to develope the wanted charactheristics of flavour, strenght and volume.
Because most of the time we store the dough at a different Temperature from the room, doing folds during the bulk stage allows to create a uniform grade of T in the dough.
In a very close relationship with this, folding helps also to distribute gases and bacterias, scattering them through the dough.
This is also very helpfull to the fermentation.


Strenght:


Really important dough feature, it will estabilish how to process the dough in the shaping and proofing phase.
Meanwhile with commercial yeast, is hard to have to augment a dough strenght because the amount of gases produced by yeast during the proofing phase garantee a dough strenghtening; In sourdough baking is much more useful (and even more with high hydration doughs) because less gases are produced during fermentation stage.
Applying a number of fold/s during the bulk stage, at regular intervals, will give strenght to a dough.
Those foldings should be gentler as they are performed towards the end of this phase, to avoid gases loss (that will generate a loss of volume and flavours).
I will give a few but great tips for folding in the "secret" section next on!


Gluten development:


Very related to dough strenght (but not the only cause, gluten development is also a key element. It will state the dough capacity to retain gases and so, to augment volume during the proofing and cooking phase.
While folding our dough, gluten strands are gently stretched, and they create a more regular net to trap the gases.
The more foldings we do, the more regular and tight will be the gluten net, and therefore the crumb structure.


lunedì 17 ottobre 2016

Understanding the flour

A balanced dough on the bench waiting  for scaling 


...
Autumn came, with the first snow and made everything quiter. The forest is getting coated by those beautiful colors, which every year amaze me. So beautiful is nature!
I got a beautiful smelling cup of grey tea with honey, so I can start write this piece.
...


Sometimes we want to replicate a bread recipe, or we want to try a well known one but using a new kind of flour and the result isn' t as expected. Maybe the dough comes out too stiff (in which case is easier to correct) or maybe it comes out almost batter-like. 
Altough can be many the factors that lead to a not-so-good result while execute a bread recipe, a missread of the flour used can be the most recurring (and most of the time a problem for the inexperienced baker).
Without writing down a copy of the many existant technical guides to flour's rheology; I want to share my personal opinion learnt throught the experience.


When a proper balance is estabilished within flour and other ingredients, also the shaped dough will be balanced. 


But, before that, I ll try to resume in a few words the most important flour carachteristics involved into the baking process.

1.Quality of proteins and level in percentage:

Two distinct aspects which are very important. I should say the most interesting of the two is proteins quality; When they are good, we can expect a nice development of the gluten net. 
Even if the proteins are low, but of a good kind, we are able to make a nice bread dough without many problems.
On the other hand, we can expect less water absorbtion.
Assuming we have the same protein quality, the flour which will have a higher percentage, will develope a stronger gluten net and will absporb more water.


2.Elasticity and extensibility of the gluten strands:

It' s strictly related to the proteins quality (another time we can see that the quality is very important).
A flour can produce gluten which is really elastic and not extensible as well as the opposite or a blend of the two characteristics in different rapport.
When we have a good protein quality, we will have a balanced rapport between elasticity and extensibility, making the dough easy to work with.


My opinion is that when we try a new flour, (in a empyric way, without having flour sheets) we have to carefully "read" it. 
The way it mix with water, how much liquid can absorb without a proper mixing, if when stretched we feel stiffness or a lack of resistance...
All of those little things we should feel and be able to understand. 
With this kind of knowledge, we will be able to decide if more water is needed (or maybe less water then the original recipe); If a fold or more are needed, which will be the amount of bulk fermentation time required and so on...

This is just a guideline, there are so many variables that it' s not possible to mention every possible scenery. 
However, I hope that I will give something to you to think about next time you mix a new dough.

Sincerly, 
Matteo


venerdì 30 settembre 2016

About dough hydration part2

First of all, thank you for every message, feedback and like I get every day. It makes me wanting to continue write and share my ideas and why not? secret toughts :D
As I have been enquired to write a follow up of the dough hydration piece; Going more in-depth with hydration effects on the different bread types (Italian breads in particular), here we go!
I decided to write this right now, with a cup of fresh ground coffe in the hand while watching my dogs sleeping on the floor :)
As I wrote in the previous post, here in Italy we have different main dough hydration levels which tend to produce different final products:


Bread type:                                                               Average hydration:

Ciabatta                                                                    <75% - 90%

Pane comune (di grano tenero)                                <60% - 75%

Pane di pasta dura (Ferrarese, Biove)                      <45% - 50%


We saw that most of these products can be done by apply the right tech, with different hydration levels and still obtain a similar level of lightness in the crumb.
Let' s see now the point by another perspective. How water percentage affects a dough for every tech and recipe listed above?


A close up of a Ciabatta crumb 80% hydration

Ciabatta:

Typically starting with an hydration of 75% (back in the years when in Italy were not available strong flours). The minimal manipulation of the dough, and the fermentation level reached in bulk phase, give you that light open crumb which is best appreciated while slicing this bread on the hotizontal plan (so the fillings of the sandwich will fall into the air pockets .. yumm).
When hydration is raised up in this bread, you get more fluffiness and a more polished texture as well as bigger air pockets. However by raising too much the water percentage (let s say above 120% using strong flour) the air pocket size tend to decrease but augment in number, giving you the micro-pockets structure.
On the other hand, when you lower down hydration levels, you will have a more regular air pockets distribution as well as a raw texture.


Pane comune with 68% hydration


Pane comune:

Typically in between 60% and 75% hydration range. It is made with mid-strenght to weak flours (protein level range in between 11% to 9%).
It has a more compact crumb structure compared to ciabatta due to the shaping phase that compress a bit the pockets. The more you high the water percentage, (using a same strenght flour) the more you get big holes but irregular due to a stronger fermentation as well as a difficoult shaping. Texture will be softer as well, and polished like in Ciabatta.
The lower you go with water percentage, the more you get a regular crumb with little air pockets. The texture, in this case, will get raw and less chewy.


Pasta dura, not laminated


Pasta dura:

Typically in the 45% - 50% range (in few cases it reaches 55%) of hydration. It is made with mid-low strenght flours (10%) but can be done also with strong flours (<11%). Is it characterized by a close structure with occasional pockets (many bakers consider air pockets a defect so they push out all the gases from fermentation by laminating the dough several times). There is not much room to change hydration percentage here due to the unique crumb structure that need to have this bread.

giovedì 29 settembre 2016

About dough hydration


Hello people! today I want to speak about hydration in bread dough.
I think it's time to demystify a bit the importance of water's percentage influence in a dough.
Let' s say that the second most important ingredient in bread making process have a great influence on the final product as well as on the entire production chain.
Right; But, and there is a big but here, it's not the most important element nor the only one which concours in having a light open crumb that most people are looking for in sourdough baking.
I will not discuss here if it' s right or wrong, just let' s assume that an open crumb it is what one aim for.
Water, H2o. Is the life itself. Is the thing that we all need to survive, to stay healthy, to stay clean.
As the ferments are living beings, they also need water to survive. And they need good water to stay healthy and clean.
So, admitting we have a good balanced pure water, let's get back to the amount of it we put in a dough and what it will influence.
I take as example breads that are normally made in Italy.
I can say we have different main doughs with different hydration levels:

Doughs:                                                                           Hydration %


Pizza&Focaccia (tray)                                                    <80% - 100%
Ciabatta                                                                           <75 - 90%
Pane comune (Filone, pagnotte)                                     <60 - 75%
Pasta dura (Ferrarese, Biove ...)                                      <45 - 50%

The goal of each dough is to have the right consistency for the process they need to pass throught.
From minimal manipulation of Pizza and Ciabatta (they are very similar doughs even if in pizza dough is more common to use olive oil than in ciabatta) to the more intensive of pasta dura breads.
However, we can do Ciabatta with 58% hydration, in example, and the structure of bread will be similar to a 78% one because of the same process.
This is proof that hydration is not so important in having open crumb.
Be aware that meanwhile the air pockets can be obtained at lower hydration levels, the texture of the crumb will be different without any doubt.
As while I' m writing this article I am eating a piece of high hydration bread, I can say that texture is softer and smoother than low hydration ones. Flavour also is different because in high hydration breads fermentation is producing more byproducts and faster. Meanwhile in low ones you can feel much more the grain itself.
To me the goal is to have a good texture, with good flavour and lightness. I do appreciate every hydration bread levels as long as they are made with the right fermentation and tech which bring to an open structured crumb.


mercoledì 28 settembre 2016

About seasons and fermentation


Hello everyone!
I got a feeling every time that a season pass by and another one come. All my ferments, starters, kefir grains, pasta madre, change the way they work. Ok, you will say, nothing new! Temps are changing (either lowering down or getting higher depending on season) so fermentation times and quality change right? Well, I usually run every fermentation in a controlled way, so Temps are always under my control as well as time  etc...
But, I did notice that our little friends keep changing their behaviour either becoming more sluggish in autumn-winter or frenzied by the sparkling spring air or again overcharged of acids in the summer.
And this is not under my control. I can keep Temps always at 25°c, keep the same refreshing rates but the result of the fermentation it' s still slightly different accordingly to the season. May sound weird but it' s a fact. Natural ferments are alive and doesn't matter how one try to manipulate a living system, nature always have the last word !


martedì 27 settembre 2016

Liquid sourdough


One of the most used and easiest pre-ferment for breads. Basically a rough mix of water and flour in the same quantity (1:1) inoculated by a starter and let ripen over time.
Altough other percentages of water in relation of flour can be used, (sometimes raising water quantity around 200%), the most practical is 100%. Due to the high hydration, the acidity built by fermentation is more on the lactic side.
Here you have a few examples of liquid sourdough build:

Ratio:                                         Baker's math:

1 part water                               100%
1 part flour                                100%
1 part starter                              100%

or

2 parts water                             100%
2 parts flour                              100%
1 part starter                               50%

or

4 parts water                             100%
4 parts flour                              100%
1 part starter                               25%


As you can see the difference is into the starter ratio. We will see later what does it change.


About the flour:

As in the Pasta madre, you can use different flours. Usually the flour for this ferment should be white and with a good protein content (<11%).
However different kinds of flours can be used, from high extractions to whole wheats and of course flours from different kind of cereals.
Mind that higher the ash content, the faster the fermentation will be. Therefore ripen times will change accordingly.
Nowadays it s more and more used to make liquid sourdough from spelt (if baking spelt bread), barley, oat etc...


About time:

When a healty starter is used to build this ferment, it will ripen in 3 hours at 25°c. Time may vary using different flours and ratios as I mentioned before, as higher extractions flours tend to speed up the fermentation and shorten the ripen time; Meanwhile ratios will change ripen time and characteristics of the pre-ferment. Here is how:

The 1:1:1 ratio is the faster build and can be used to bake in 2 to 4 hours (25°c). Is the best way to refresh if you need a young sourdough.
The 2:2:1 takes 4 to 6 hours (25°c). It gives you more activity and therefore more acidity.
The 4:4:1 can take up to 12 h (25°c) and will give you the more complex flavours and acidity.

This recipe can be used as a stand alone pre-ferment as well as a proper culture that can be refreshed and stored.
If using different flours, (i.e. whole wheat, spelt etc..) this difference can be quite remarkable.
In the first case, you will have a pre-ferment which is strong and will rise your breads with ease but will lack specific characteristics of the used flour because the bacterias don't have the time to set a new balance in the new substrate.
In the second case, after a period of refreshings (from 1 month it will be noticeable) you will have a proper specific liquid sourdough, with a strong character which also lead to a more complex flavour and different textures in final products.


Considerations
If you want a mild lactic sour flavour, good keeping quality and very good volume, this sourdough is the one you want to use.


Pasta Madre


Pasta madre
Is the first natural ferment I did create myself. Here in Italy is the most well known sour ferment. Basically it's a stiff sourdough with 45% hydration which have a balance of yeasts and bacterias (lactobacillus) that tend to favor acetic acid production. Altough there are several ways to maintain this culture, we will see how to create it and store in the easiest way:

1 part of active starter
2 parts of water
2 parts of flour

So 1:2:2

Formula in baker' s math is:

100% flour
45% water
50% starter

About flour
Usually the flour for this ferment should be white and with a good protein content (<11%).
However different kinds of flours can be used, from high extractions to whole wheats and of course flours from different kind of cereals.
Mind that higher the ash content, faster the fermentation will be. Therefore ripen times will change accordingly.
Nowadays it s more and more used to make pasta madre from spelt (if baking spelt bread), barley, oat etc...


About time
When a healty starter is used to build this ferment, it will ripen in 3 hours at 25°c. Time may vary using different flours as I mentioned before, as higher extractions flours tend to speed up the fermentation and shorten the ripen time.
This recipe can be used as a stand alone pre-ferment as well as a proper culture that can be refreshed and stored.
In the first case, you will have a pre-ferment which is strong and will rise your breads with ease but will lack a bit of sourness because the bacterias don't have the time to set a new balance in the new substrate.
In the second case, after a period of refreshings (from 1 month it will be noticeable) you will have a proper pasta madre, with a strong acetic sourness which also lead to a more complex flavour and different textures in final products.
I don't think that very old pasta madre (many years old) are very different from a 3 months one. Infact, bacterias and yeasts balance quite quickly with proper refreshing and storage.

About storage
Ok, you have created your own pasta madre, it' s healty and strong. Now, how do you store it?
The most interesting way for home baking as well as little bakery is to keep it in a sealed jar.
Material can be glass or food grade plastic.
Basically I suggest to refresh the pasta madre, ripen it at 25°c for half the time (look for an increase of 50% volume) and then store sealed at 4°c

Considerations
If you want a good acetic sour flavour, very good keeping quality but little less volume, this sourdough is the one you want to use.